This device makes it possible to control digital model trains with Apple iOS- or Google Android-devices.
After a long waiting time, finally the first sets of Z21 arrived last week in Singapore and we could borrow one from the local distributor, Singapore Railways. If you believe some of the German forum comments, the initial wave of this new digital control, which started to appear in August 2012 at selected dealers in Central Europe, is already sold out.
Well, nevertheless it finally found its way to Singapore and we have it here in front of us and want to share our first impressions with you.
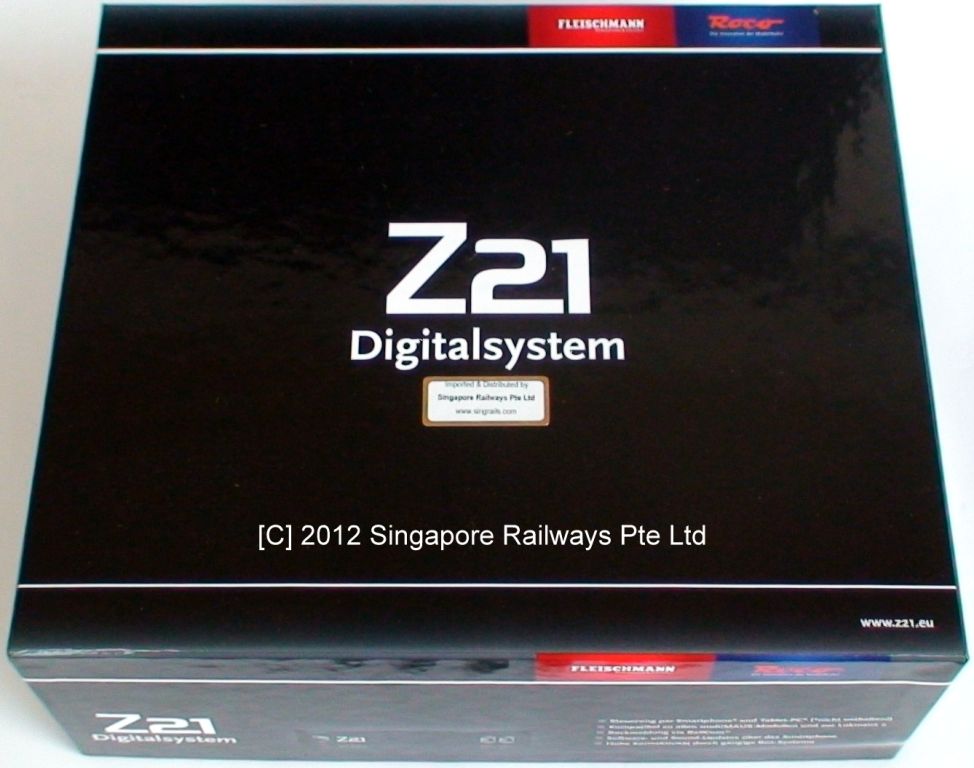 The packaging comes very solid and leaves a good first impression.
The systems comes in two parts: A standard wireless router from TP-Link, which has been preconfigured and the Z21 itself with a static IP-address.
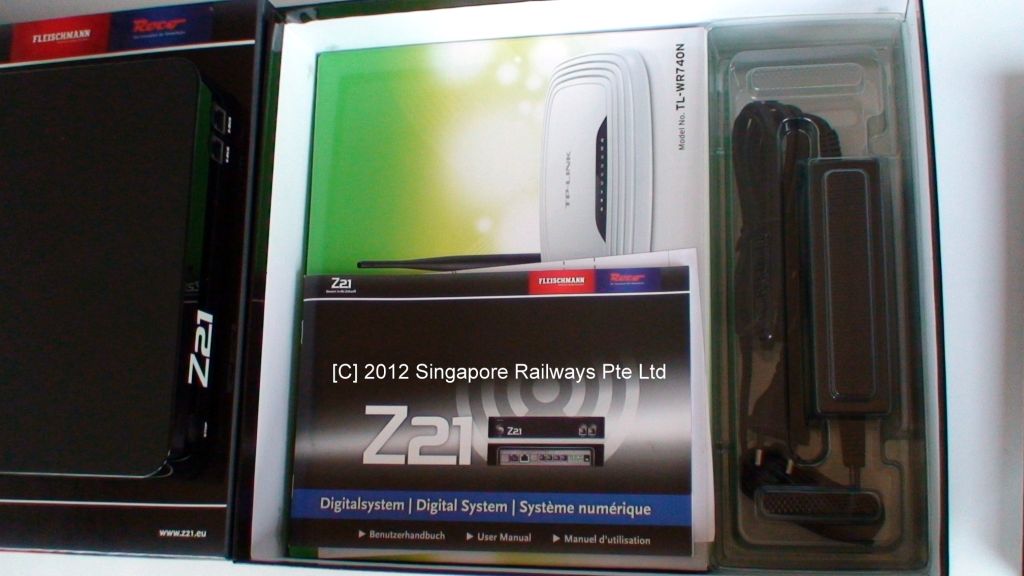
The system is designed as plug and play. There is a DIN A5 manual with different languages included and a DIN A4 quick start leaflet.
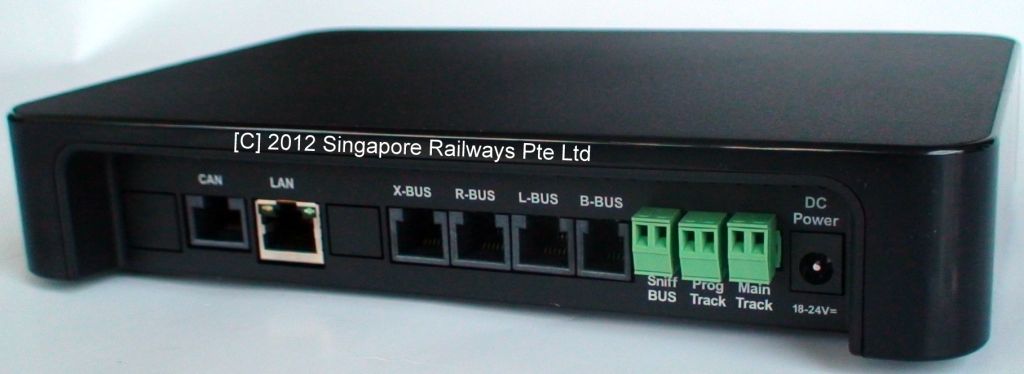
You basically unpack now everything, connect the cables according to the pictures of the guide, connect your phone/ tablet to the router and download the free app [we had an iPhone for testing] [search for “z21 mobile”] like shown in the quick guide. Make sure that your previous power supply is NOT connected anymore to the track.
Before you put a digital loco for the first time, make sure that the right voltage is selected for the track. Depending on your system, this can be done astonishing easily via your phone/ tablet. Under “Z21-settings” you are able to select the voltage via numeric input for main and programming track separately. The selectable range is from 11 to 23 Volts; the default setting is 18 [main] and 16 Volts [programming].
From Z-, N-, TT-, H0, 0, 1 to G-scale, the perfect adjustment is therefore possible. After confirmation the new voltage is set. We checked each time with a digital multimeter and it was perfectly allright. Gone are the times, where you had to buy an additonal physical voltage-reducer for small scales.
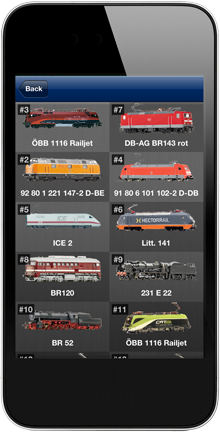 Take now your phone/ tablet and go to “Settings”, “Locomotives” and select “Add New Loco” at the bottom.
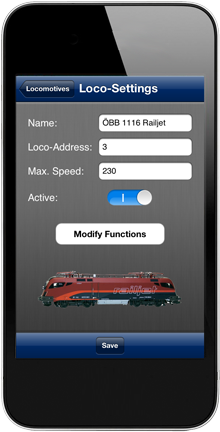
On the next page you can give a name, eg “class 10” and address number, eg 10. The button “Modify Functions” allows you to define available functions [eg light, sound etc] for your loco.
You would need your loco-manual for function overview to do it properly.
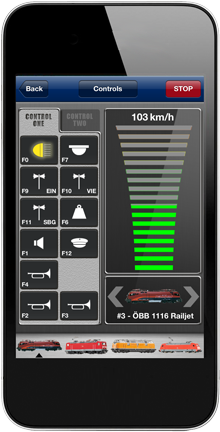
 Change now to “Control Panel” and select your loco.
We didn’t face any difficulties to setup and run our first loco via iPhone. The system is really made for non-technical guys and the accompanying manuals come with good explanations and a quality print. Our second impression was also perfect.
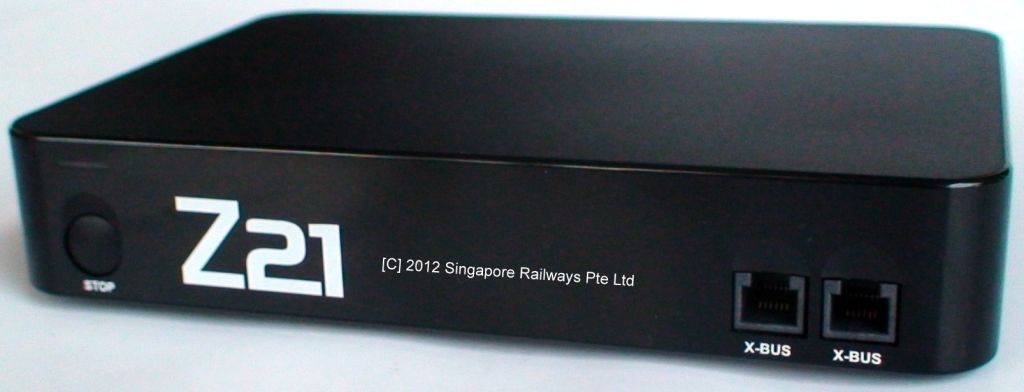
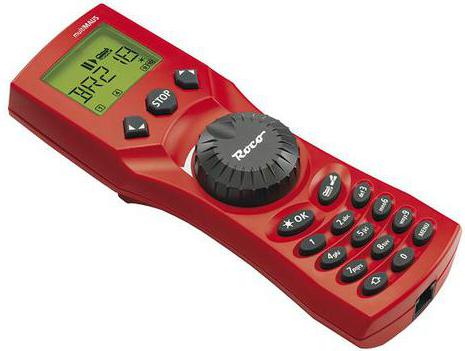 Now we went a bit deeper and attached a “multiMaus” from Roco to one of the X-Bus-plugs at the front. Selecting the address from our loco … voila, it worked.
 The next cool thing, we noticed, was the bidirectional visualisation of parameter changes: Eg if you control loco-speed, direction, functions with MultiMaus and your colleague has on his iPhone selected the same loco, he can see on his display your speed changes etc. A third buddy with another device [we tried with a 2nd iPhone] has also the realtime settings on his display. Each of the three can any time control the loco and the others can see the changes on their displays, cool stuff.
We tried now very special things, which normal users usually don’t apply. It was stated as a feature that you are able to upgrade firmware on selected digital decoders [the chip, which is built into a loco to enable digital functions]. Well we searched and tried, but without hope; this is currently not implemented [we used iOS app-version 1.0.8].
We also tried to change CV-values [configuration value] via MultiMaus; Z21 went into a kind of hanging state. We had to reset Z21 by pressing the main-button twice. Well, the programming can of course be done from iPhone either.
What we didn’t try yet is the “sniffer bus”. You are able to connect here the output of an existing digital command; Z21 would merge any commands here to its own data stream.
For tablet-devices there are also “driver-cabin”-views available; but currently only for Taurus/ class 182.
It will be also possible in future to let a PC or notebook communicate via the router with Z21. Currently there is unfortunately no software available to do so. There seems to be plans to work together with selected manufacturers of train controlling software. One unconfirmed date of availabilty of the first compatible software is 2nd quarter 2013.
Conclusion: A highly interesting piece of technology, which makes control of model trains much easier and cheaper than ever before, bundled with lots of plugs for interconnections with other systems and open for future developments.
Train fans, who just want to do the basic tasks and use their already existing gadgets are perfectly served.
However, professionals who want to do special configurations and setups might be disappointed for the one or other currently missing function. They will have to wait for upcoming feature upgrades.
Firmware upgrades of Z21 itself can also be done easily via iOS/ Android device. The good thing is that we can expect tons of new interesting features in future, which will add value to our current machine.
We will continue testing and keep you informed 😉
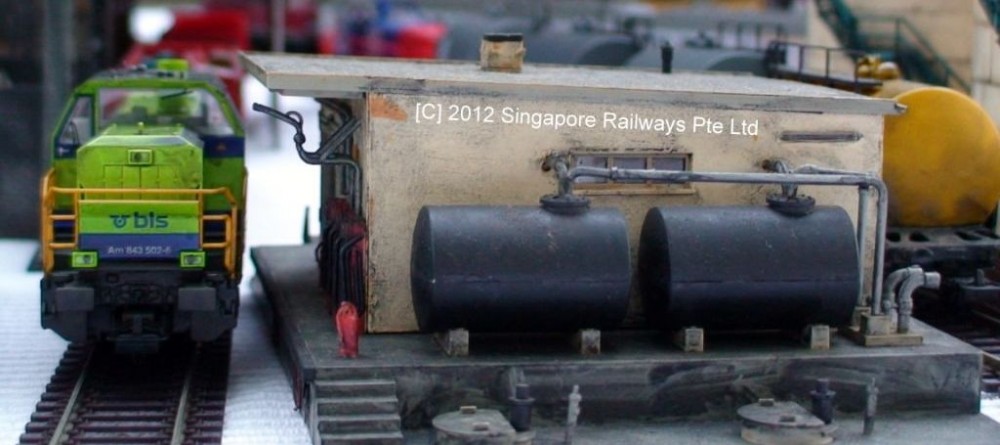
Available now in Singapore at Singapore Railways.
Manufacturers website: www.z21.eu.